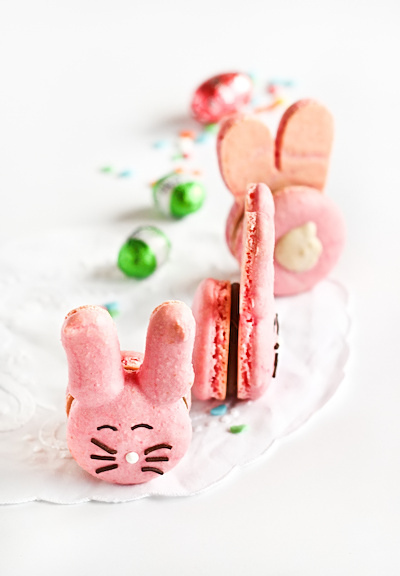
EASTER BUNNY MACARONS. OH EM GEE.
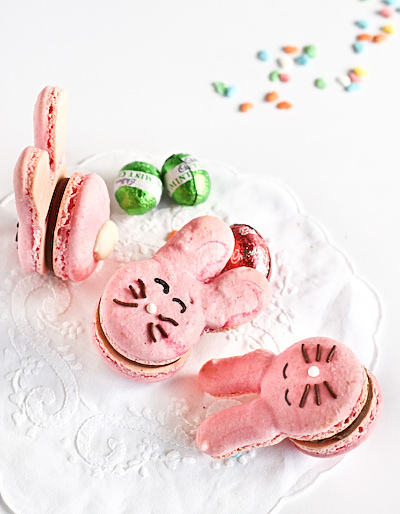
Okay *deep breath* trying to stay calm here. The extreme cuteness of this post may send me into a large bout of squeeing at any second. I finally got off my arse and started my Easter baking and this idea has been growing in my baking brain for a long time now. Slowly I’ve been adding and subtracting little details. These Bunny Macarons are the companion to my Piggy Macarons which I love oh so much. AREN’T THEY FREAKIN ADORABLE?! Sorry, I’m getting very carried away. But really, I don’t think I’ve ever baked anything this cute before.
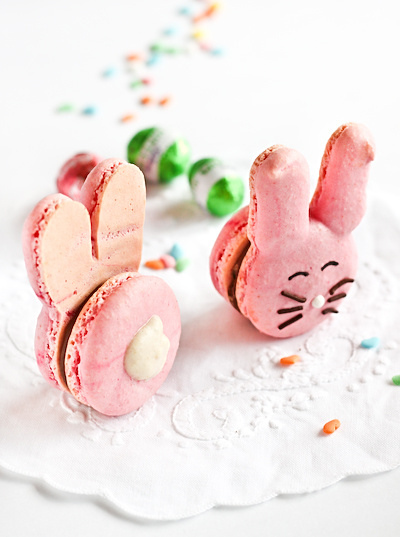
So what comes to mind when I think of Easter baking? Bunnies. Chocolate. Marshmallows. And hot cross buns, but let’s save that for another post. So after successfully making piggies, I knew the only logical next step was Easter Bunnies. With fat white tails piped onto their cute macaron bums. And chocolate marshmallow icing. Look at that cute little bunny butt!
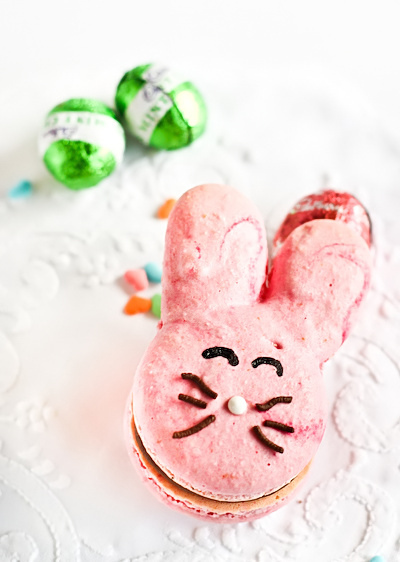
The decorating turned out to be pretty easy. I piped some regular small rounds and then piped two longer skinnier lines attached to them for the ears. White sugar balls for the nose (about the size of regular size cachous). Chocolate sprinkles for the whiskers, painstakingly lined up using tweezers. I set aside some plain white macaron mixture to pipe on for the tails. The eyes were drawn on after baking using black food colouring, the same as I did for my piggies.
I know the method below looks a bit lengthy but I was just trying to include as much detail as possible to avoid too much confusion. If you’ve made macarons before then these are not much harder. And so worth the effort! (If it is your first time…I would recommend trying some plain macs and reading up the advice on macarons from other blogs) I think I would make these even if it wasn’t Easter. They are almost too cute though, I can’t bring myself to eat them so I’ve given all of them away. I did eat plenty of the leftover chocolate marshmallow icing though, it was so gooey and moreish. It tasted like a Mars bar!
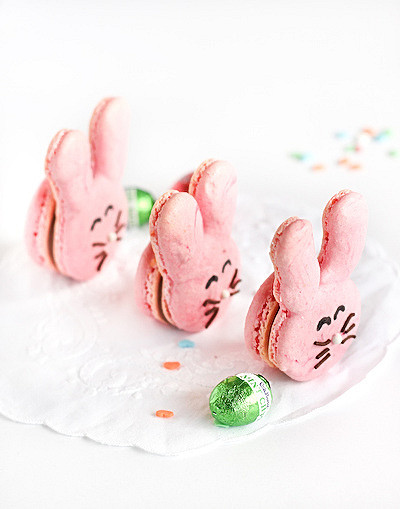
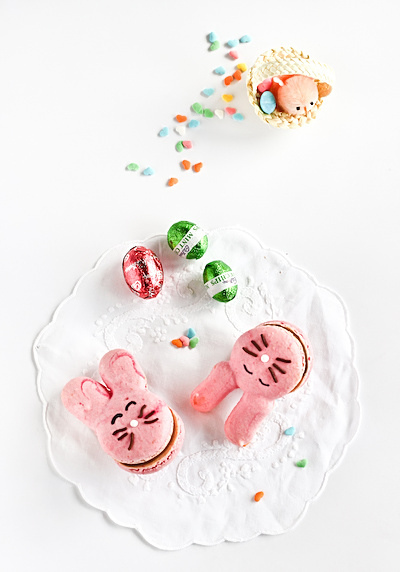
Yeah…So I may have gotten a bit carried away with the photos. It tends to happen when there are little cute things with faces. I start making up stories for each photo…
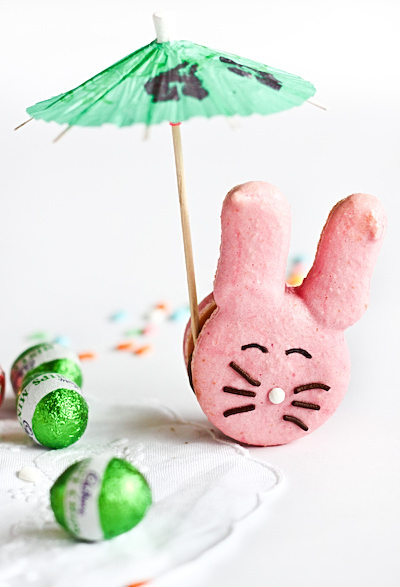
Bunny in the sun.
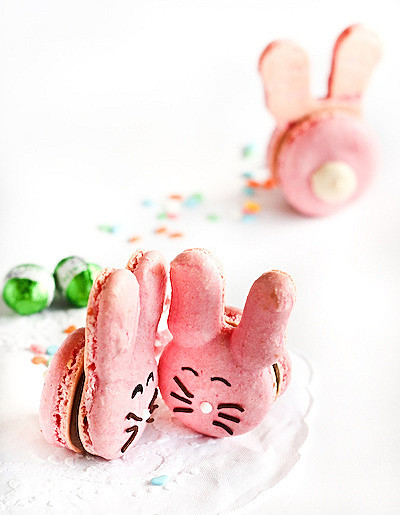
Easter bunnies like to gossip about other bunnies. Poor lonely bunny 🙁
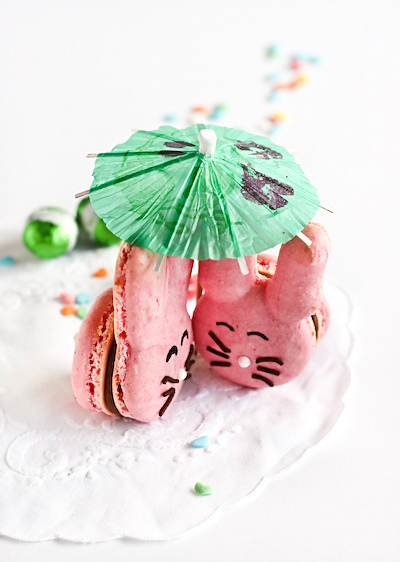
Bunnies in love! …Okay I’ll stop now.
(makes 10-12 macarons, depending on size)
100g aged egg whites (you can use fresh eggs too, just make sure they are room temperature. I always use fresh these days, and zap it in the microwave on defrost for 10 seconds)
110g almond meal, dried in a cool (100 degrees C or less) oven for 5 minutes and sifted
200g icing sugar
50g caster sugar
Optional: 1 tsp powdered egg whites (available from The Essential Ingredient)
pink powdered food colouringFor the Chocolate Marshmallow icing:
2 egg whites
1/2 cup sugar
1/8 tsp cream of tartar
1/4 tsp pure vanilla extract
100g dark chocolate, meltedTo decorate: liquid black food colouring (available from the supermarket) or edible ink pens, chocolate sprinkles, sugar balls/cachous
Line two baking sheets with baking paper. Place icing sugar in food processor and pulse for a minute to remove any lumps. Stir in almond meal and pulse for about 30 seconds to combine. Place in a large mixing bowl and set aside. Using an electric mixer, beat egg whites and egg white powder in a medium mixing bowl until the egg white powder dissolves and it reaches soft peaks. With the mixer on high speed, gradually add sugar and beat until it reaches stiff peaks.
Add meringue to your dry mixture and mix, quickly at first to break down the bubbles in the egg white (you really want to beat all the large bubbles out of the mixture, be rough!), then mix carefully as the dry mixture becomes incorporated and it starts to become shiny again. IMPORTANT: Just as the mixture has become incorporated, place about 1/2 cup of the mixture in a separate bowl and set aside (to be used for the white bunny tails). Add pink food colouring to the remaining mixture and mix until the correct consistency. Take care not to overmix, the mixture should flow like lava and a streak of mixture spread over the surface of the rest of the mixture should disappear after about 30 seconds. Place in a piping bag and pipe rounds of about 3cm diameter on baking sheets, about 5-6 on each sheet or silicon baking mats. Make sure you leave enough space above each round so you can pipe the two ears for each bunny face (remember to only pipe ears on half the rounds, leaving the rest for the backs of the bunnies). Gently rap your baking sheets on your bench top to remove any extra bubbles from your piped shells.
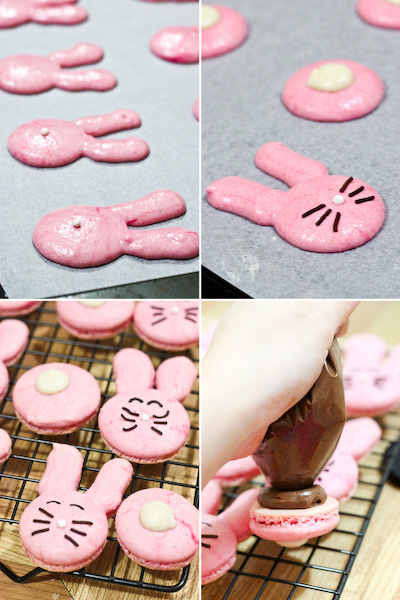
It is up to you what you use to decorate your bunnies, and this will decide when they are added. I added the white sugar balls (you could use silver cachous) for the noses and long chocolate sprinkles as the whiskers right after piping, using tweezers. If you prefer to draw the whiskers on, do this after baking. Leave your shells to dry for about 30 minutes, then mix the remaining white macaron batter to the correct consistency and place in a small piping bag and pipe the tails on the centre of the piped rounds that do not have ears. Leave this to dry again for at least half an hour, so that when you press the surface of one gently it does not break. This will help prevent any cracking and help the feet to form on the macs. Preheat your oven to 140-150 degrees C. Place on top of an overturned roasting tray or another baking sheet if your sheets are not professional grade, for better heat distribution. Bake for 15-18 minutes, depending on the size of your shells. Remove from the oven and cool on the tray for a few minutes, then gently remove from the sheet and place on a wire rack to cool completely. Use a skewer dipped in black food colouring or edible ink pens to draw on eyes (and whiskers if you choose).
To prepare the marshmallow icing, place egg whites, sugar, and cream of tartar in a heatproof bowl. Set over a saucepan with simmering water. Whisk constantly until sugar is dissolved and whites are warm to the touch, about 3 to 4 minutes. Remove from heat and whisk with an electric mixer, starting on low speed, gradually increasing to high, until stiff, glossy peaks form, 5 to 7 minutes. Add vanilla and melted chocolate, and mix until combined. Place in a piping bag and pipe on to rounds, pairing each bunny face with a bunny bum 🙂 Store in the fridge overnight in an airtight container. Serve at room temperature.
